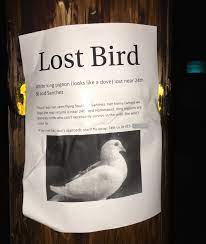
What Happens To Lost Racing Pigeons
If you are looking for a good video for racing pigeon tips involving what happens to lost racing pigeons; then check out this video on […]
If you are looking for a good video for racing pigeon tips involving what happens to lost racing pigeons; then check out this video on […]

If you are wondering what is the racing pigeon price in India? Then this video on Racing Homer Pigeons For Sale In India is definitely […]

If you are looking for a great video on How do racing pigeons know where to go? Then you must check out this short documentary […]

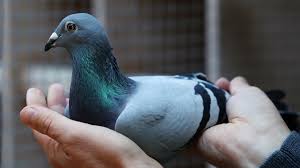
If you are looking for a great video show casting the most expensive pigeon in the world in 2020, then this video is a must […]

If you are looking for a fantastic video on the owl pigeon then you must check out this great video on the old German Owl […]

If you are looking for an excellent video showing you how and when to tame your pigeons, then you have to check this video out. […]

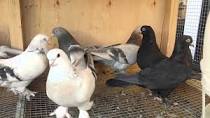
If you are looking for a great video on how to start your own homing pigeon loft, then you need to look no further. This […]

If you are looking for an informative video on How you can keep cats away from your pigeons, then look no further. This video answers […]
Copyright © 2024 | WordPress Theme by MH Themes